Tips On Installing New GuttersHave you heard that old saying 'when it rains it pours'? What's the one, often overlooked feature of our home that takes the most punishment when the rain comes? You guessed it—the gutters. There are some pretty clear signs that your gutters need replacing, and gutter installation can be a pain. If you're installing gutters, you want to make sure you do it right. We've got everything you need to know right here in our simple step-by-step guide. Steel Vs Aluminum Gutters
You've got a choice when it comes to which material to choose. The most common materials in use are galvanized steel and aluminum. Let's go over some pros and cons of each. Steel
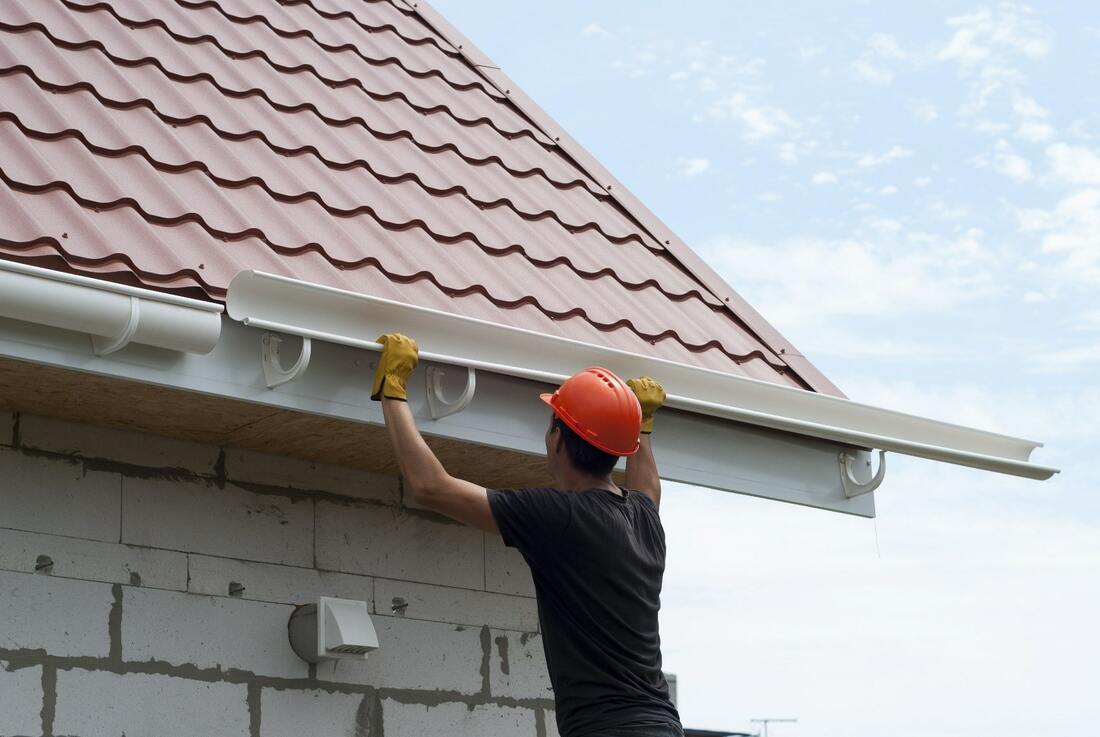
The 4 step installation process. 1. Cut and Re-Join Gutter. Using your tin snips or a hacksaw, cut the gutter according to the measurements taken while preparing. Rejoin the guttering where necessary using your waterproof sealant and a rivet gun. 2. Mark High and Low Points. Mark the highest point of the guttering on the fascia. This should be approximately 1 1/4 inches below the drip-edge flashing to ensure the guttering will catch the water. Any higher and the water can spill out over the drip-edge and miss the gutter entirely. Don't forget to factor in the slope of your guttering towards your downspout. Approximately 1/16th of an inch decline per foot is standard (approximately 1/2 inch for every 10 feet of run). Mark the line with chalk. 3. Attach Guttering/Fascia Brackets. Depending on your chosen guttering, you will now either screw the guttering into the fascia (one screw every 2 feet) or affix it to your fascia brackets. Where possible, you will want to screw into every other rafter tails behind the fascia. These are typically spaced 16 inches on center and can be identified by nail heads flush to the fascia. If you are screwing guttering directly into the fascia, you will also need to install hanging straps every 2 feet. 4. Install Elbow and Downspout and Attach End Caps. Attach end caps where appropriate, and cut downspout holes on the lower end of the gutter using a hacksaw. Screw the elbow into the downspout hole with pop rivets or screws. Hold the next elbow against the wall. Measure and cut a piece of downspout to fit between the two elbows. Using needle-nose plyers or a specialized crimping tool, crimp the elbow to fit into the downspout. Fasten together using pop rivets or screws. Can I Really Do This Myself?There's no reason why you can't install new gutters yourself, but if you're at all unsure then your best bet is to hire professionals to do the work for you. This can save you time during gutter installation and eliminate potentially costly mistakes. The National Center for Healthy Housing recommends cleaning your gutters between once and twice a year. You can save yourself a lot of work by hiring an expert to do the work for you. Do you still have questions? Why not contact us? We're happy to help with all your gutter questions.
0 Comments
Your comment will be posted after it is approved.
Leave a Reply. |
|
|
Call Today: 303-447-1555
|
Copyright ©2023 Colorado Seamless Gutters, Inc. All rights reserved. | SEO & Digital Marketing by Infront
We accept:


